Become a better business leader in 5 minutes or less
Join over 135K readers getting the The Manual in their inbox every Wednesday.
All set! Look out for the next edition of The Manual on Weds am!
Oops! Something went wrong while submitting the form.

Join over 135K readers getting the The Manual in their inbox every Wednesday.
July 8, 2021

As one of the most powerful modes of communication, video is taking employee training by storm. And it's really not surprising. Per Forrester, people are 75% more likely to watch training videos than read training content.
However, there's a huge misunderstanding that it takes thousands of dollars and a Hollywood production agency to create effective employee training videos. It doesn't.
With these simple tips and tricks, you can create hyper-engaging content without spending a dime! Plus, I'll even share what video gear I use here at Trainual - in case you're ready to upgrade.
🔥 Tip: Keeping all of your training videos organized is just as important as making them engaging. And with Trainual, you can keep them all in one place so your team can easily access them whenever they need to. Try for free.
Before you even think about hitting "record," you need to plan out why you're recording the video. And how you'll get that idea across. Without it, your video won't have a clear point. And it'll leave your team more confused than before.
So, start with the proper planning (even if you do all the work in your head). This will make the process much more straightforward. Kind of like building your playbook before the big game.
To do this, answer three simple questions:
By answering these questions, you start to paint a clear picture of why this video needs to exist. And the more specific your answers, the better. That way, you can stay focused on your audience, your platform, and the video's purpose.
Plus, it's an easy way to cut any details that aren't 100% necessary and keep rambling to a minimum. After all, no one wants to watch a 23-minute video on something that can easily be explained in three.
With your why in mind, it's time to prepare. And that starts with deciding if you're running with a detailed script, a high-level outline, or you're going to speak off the cuff. It really just depends on how comfortable you are on the given topic and the type of video you're trying to make.
Generally speaking, there are two types of training videos: evergreen and biodegradable.
When you know how long your video's material will stay relevant, you can decide on your preparation method. You'll generally want to put more effort into evergreen content since it'll stick around longer.
Meaning, you might want to write out a comprehensive script for this content (and break out your full camera gear set up). Just make sure you don't overthink it.
Instead, write the script how you would normally talk about the topic. And don't worry about perfecting every piece of punctuation. This way, you won't feel bad going slightly off script when it feels right to do so. And you won't sound robotic and look unnatural in the end result.
For biodegradable content, on the other hand, you can get away with a little less preparation because it'll be updated and replaced soon enough. In these situations, I still recommend creating at least an outline. One that bullets all the major talking points you need to communicate in order. This will give you something to reference back to while recording and keep the video focused.
When you have your outline or script, look it over. Does it align with the purpose of your video? If so, get out your gear - you're ready to start recording.
With pre-production out of the way, it’s time to decide what video tools you need for the job. In the modern age of technology, there might be what seems like an unlimited combination of filmmaking gear you can use.
But at the end of the day, invest in the gear that’s right for your company’s budget. If your content fulfills its purpose, it won’t matter if you use a phone camera or the best camera on the market. Your training video will be just as effective.
For the sake of simplicity, I’ve gathered three equipment lists for every budget, starting with a list of completely free tools.
If you are reading this, odds are it’s on a device with a camera. Meaning, you don’t need to spend money to get another version of something you already own. By using your laptop webcam or smartphone camera, you can start creating effective training videos immediately!
One of my favorite tools to get the most of these cameras is Loom, which allows you to record your screen, face, and sound (or any combo of) in one frame. And their freemium plan securely houses up to 25 videos (AKA 25 processes and policies) before you need to pick a paid plan.
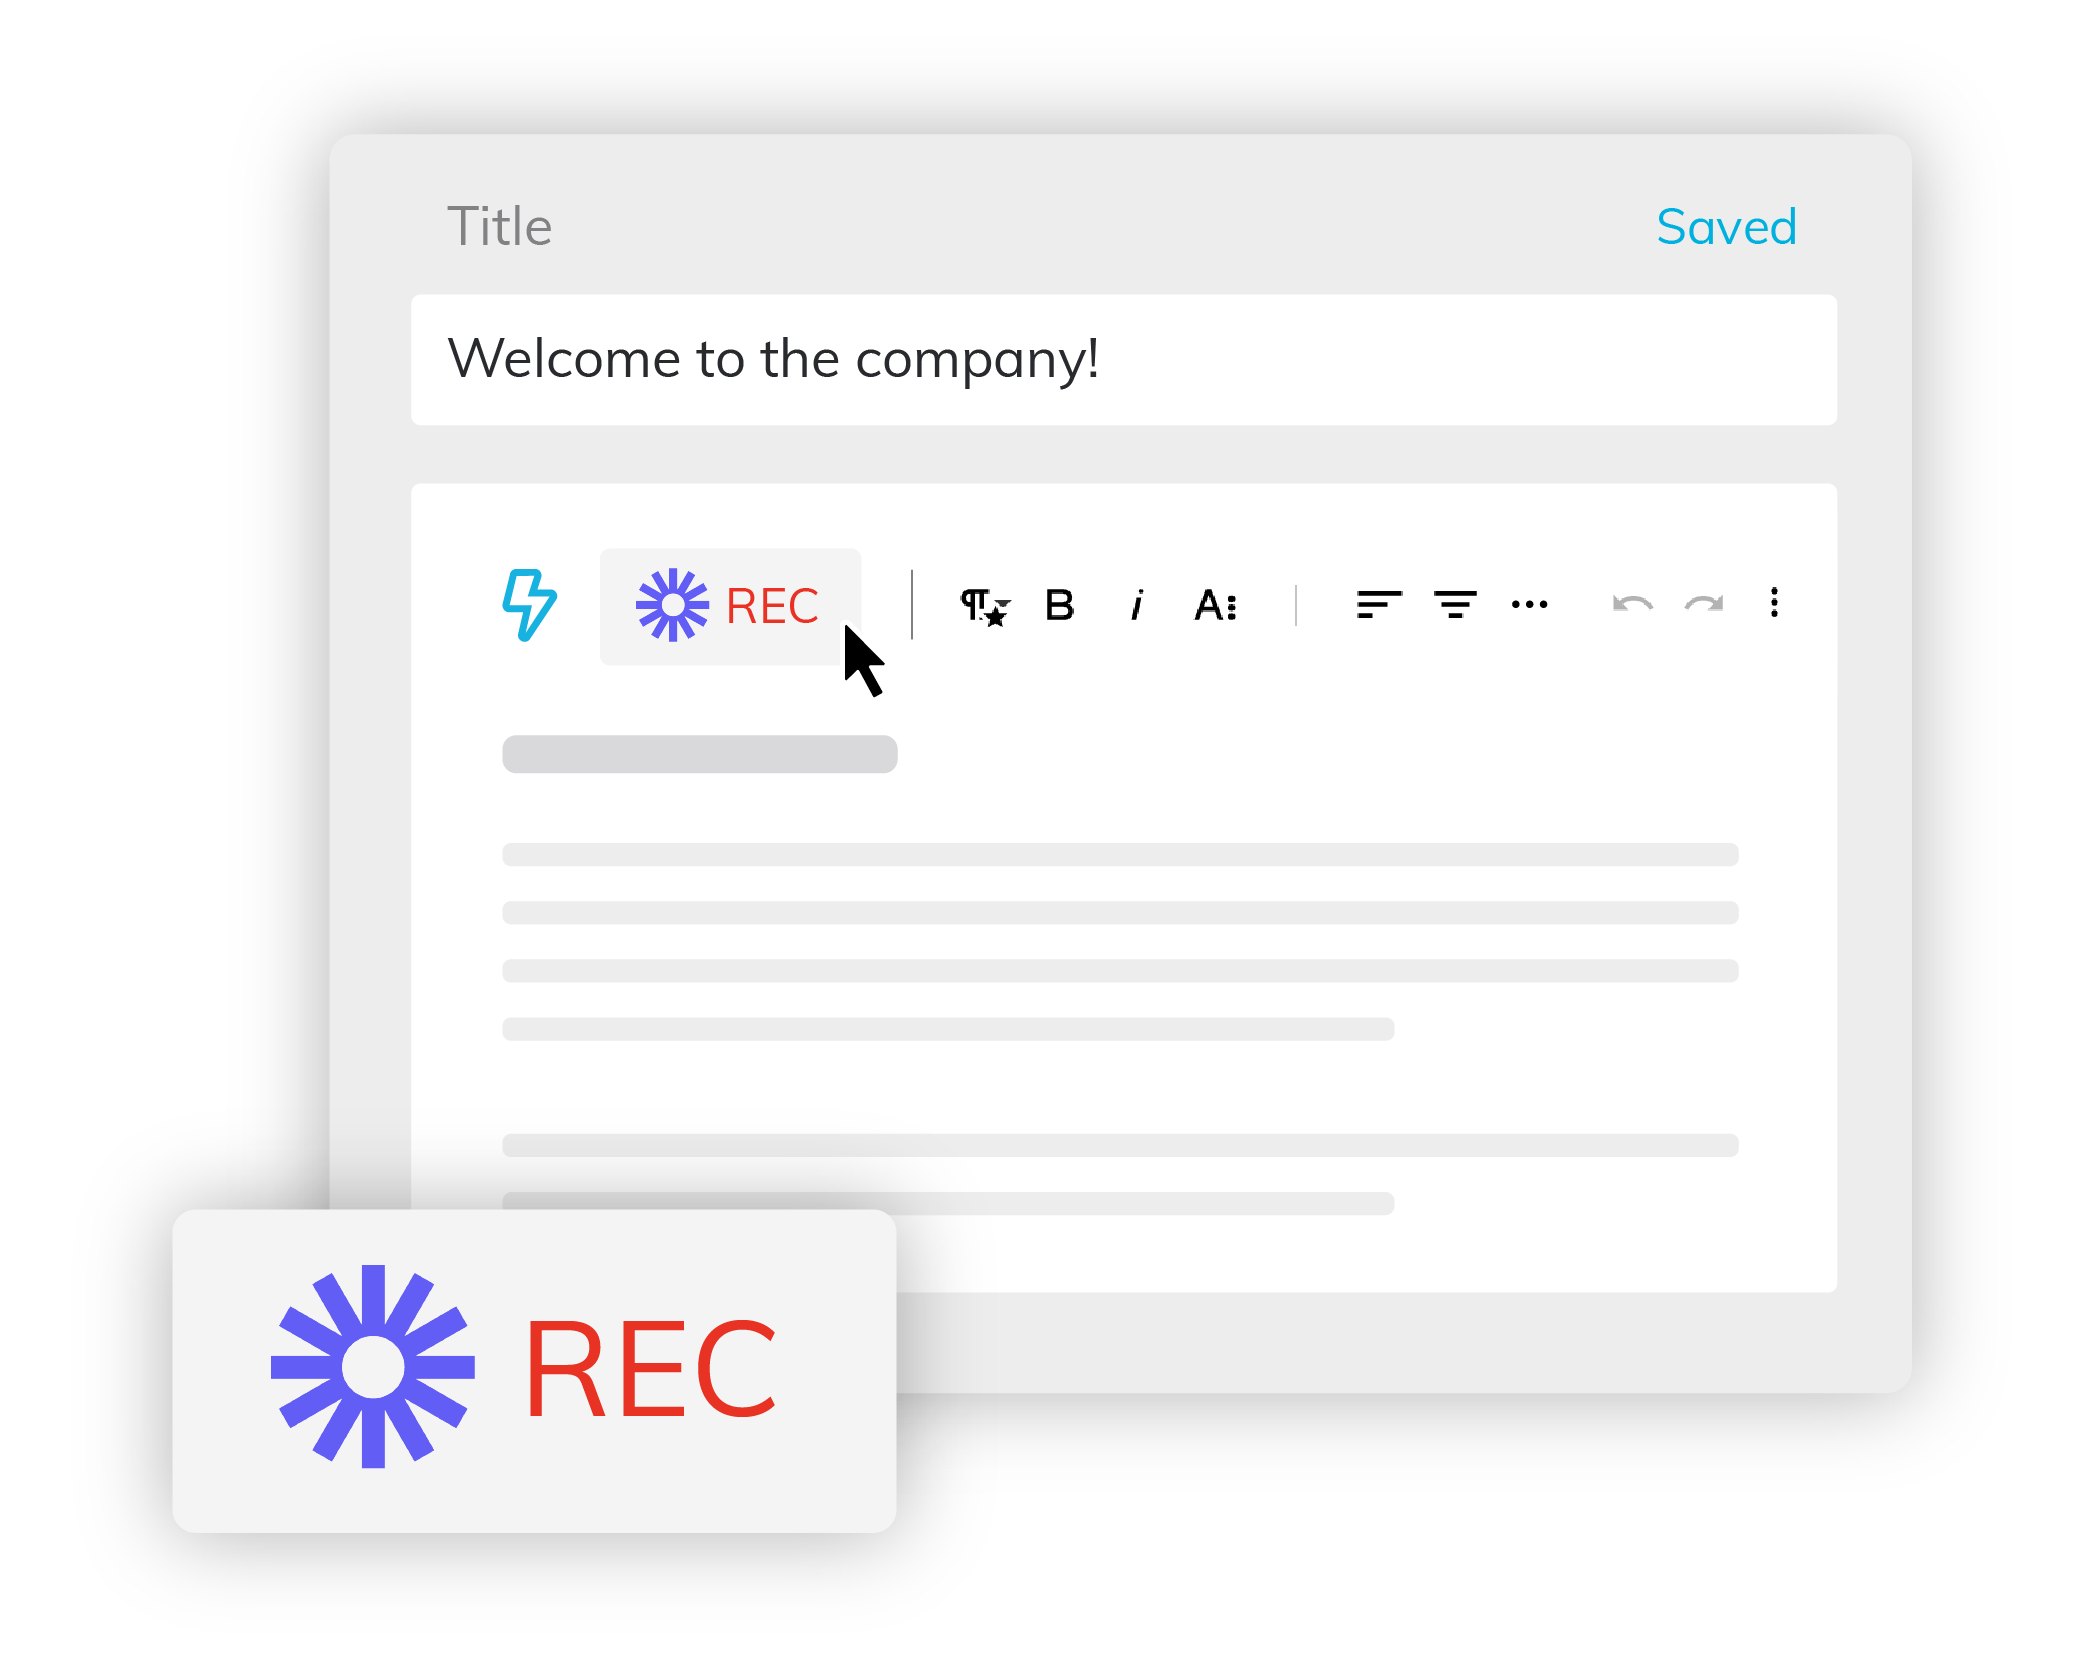
The best part: You can record your training videos straight from your Trainual editor - using the Trainual + Loom integration. And the training content will automatically embed straight into your team’s training content. That way, you only have to explain a concept once, and you’re done.
👉 Want to see just how easy this is? Try the Trainual + Loom integration for free.
By now, you might be thinking that you’ve tried recording on these tools, and it just doesn’t seem to look great. But it’s all in the setup! So, here’s the best resource I know for instantly making your video look better:
TL;DW
Say you want to step up your video game without breaking the bank. By upgrading your audio and lighting equipment, you can instantly improve your video quality! And the upgrade costs a fraction of the price of a new camera.
That's because bad audio is one of the most distracting things - especially if the person listening to it is trying to learn. Don't believe me? See for yourself:
If you're using your computer webcam, I'd start by upgrading to a desktop condenser mic. These will pick up your voice a lot better and cut out most of the background noise. Or, if you're recording on an iPhone, upgrade to a shotgun mic for the same results.
🔥 Tip: Try to record in a quiet space without any echo, such as a small carpeted room with furniture. Bring your microphone as close as you can to your face. That way, your mic can work its magic and better pick up your voice.
Similarly, it won't matter how great or expensive your camera is if the lighting is bad. A thousand-dollar lens still produces low-quality footage in a dark room. Luckily, you can usually get around this for free with natural light.
But, if you're looking to record any time of day or your business operates in a dark space (like a garage or a classroom), you'll want to invest in an artificial light source.
I tend to prefer a key light to a giant softbox in these scenarios because it's more compact and still gives plenty of pleasing soft light. But whichever you choose, you'll want to get a mounting solution to put the light where you want it. A desktop mount or floor light stand will do the trick!
Here at Trainual, we use everything on the free essentials and the basics list to shoot biodegradable content. But we also invested pretty big in gear that makes recording top-notch evergreen content and our ads a lot easier.
With that said, having expensive gear doesn't necessarily make your content better if you don't know how to use it. And in a lot of cases, it's best to stick with what you know.
But, if you're serious about investing and learning how to use your investment, I'm here to share what I use to make all Trainual’s bigger scope video projects.
As far as a camera, I love the Canon EOS R because of its accurate autofocus and outstanding colors. And I use a Cannon 15-35mm lens for most of my day-to-day shooting.
I keep the camera steady with iFootage tripod legs and the matching tripod head. (This combo allows you to get smooth pans and tilts - if you're in the business of looking like Speilberg.)

But like I said before, a great camera won't help if your sound and lighting suck. So, for most shots, I'll set up a Sennheiser Wireless Lav Mic to capture all the sound (without any background noise) even if the person talking isn't right next to it. And a Godox Continuous Video Light (which gives off as much light as significantly more expensive setups).
If the light is too much, I'll also use a Fotodiox Softbox to soften it and let my subject's natural beauty shine!
🔥 Tip: Put your lighting setup on a solid C-Stand, and you're good to go! Just be sure to put a sandbag on your light stand to prevent it from tipping over.
Not everything is going to need post-production editing. For example, if your video is just someone on your team talking or a quick Loom recording, feel free to add it to your playbook as is.
But if you've spent good money on good gear, or the content's going to stick around for the long haul, you really ought to invest in some solid video editing software too. And that includes learning how to use it.
The ones I use are Adobe Premiere Pro and Final Cut Pro. They help me push out tons of quality content without spending weeks finessing the details. Plus, there are tons of free video tutorials for both Adobe and Final Cut that teach you how to use them - even if you're just getting started.
But if you don't expect to be a production factory, save a few bucks with free software, like Davinci Resolve or Hitfilm Express! Or use the pre-installed editor (like Quicktime). Even though these tools are free, it doesn't mean they won't get you a final product you'll be proud of (they will).
At the end of the day, video training content is meant to train people. So, don't get lost in making it a cinematic experience. Especially if you haven't mastered the training part yet.
For example, don't worry about someone stumbling over words or saying "um" as long as the message gets across. Keeping these moments in the final take can make your training videos more human and consequently more engaging!
Sure, a camera is only as good as its videographer. Kind of like business is only as good as its people. So, if you're going to invest good money in gear, invest equally (if not more) in learning how to use the gear.
But I'm going to be real with you. My best advice for growing businesses is to focus on the training part of the training videos - rather than the tools you use to create them. In the long run, this will get your team and your business a lot farther!

Join over 135K readers getting the The Manual in their inbox every Wednesday.
July 8, 2021
As one of the most powerful modes of communication, video is taking employee training by storm. And it's really not surprising. Per Forrester, people are 75% more likely to watch training videos than read training content.
However, there's a huge misunderstanding that it takes thousands of dollars and a Hollywood production agency to create effective employee training videos. It doesn't.
With these simple tips and tricks, you can create hyper-engaging content without spending a dime! Plus, I'll even share what video gear I use here at Trainual - in case you're ready to upgrade.
🔥 Tip: Keeping all of your training videos organized is just as important as making them engaging. And with Trainual, you can keep them all in one place so your team can easily access them whenever they need to. Try for free.
Before you even think about hitting "record," you need to plan out why you're recording the video. And how you'll get that idea across. Without it, your video won't have a clear point. And it'll leave your team more confused than before.
So, start with the proper planning (even if you do all the work in your head). This will make the process much more straightforward. Kind of like building your playbook before the big game.
To do this, answer three simple questions:
By answering these questions, you start to paint a clear picture of why this video needs to exist. And the more specific your answers, the better. That way, you can stay focused on your audience, your platform, and the video's purpose.
Plus, it's an easy way to cut any details that aren't 100% necessary and keep rambling to a minimum. After all, no one wants to watch a 23-minute video on something that can easily be explained in three.
With your why in mind, it's time to prepare. And that starts with deciding if you're running with a detailed script, a high-level outline, or you're going to speak off the cuff. It really just depends on how comfortable you are on the given topic and the type of video you're trying to make.
Generally speaking, there are two types of training videos: evergreen and biodegradable.
When you know how long your video's material will stay relevant, you can decide on your preparation method. You'll generally want to put more effort into evergreen content since it'll stick around longer.
Meaning, you might want to write out a comprehensive script for this content (and break out your full camera gear set up). Just make sure you don't overthink it.
Instead, write the script how you would normally talk about the topic. And don't worry about perfecting every piece of punctuation. This way, you won't feel bad going slightly off script when it feels right to do so. And you won't sound robotic and look unnatural in the end result.
For biodegradable content, on the other hand, you can get away with a little less preparation because it'll be updated and replaced soon enough. In these situations, I still recommend creating at least an outline. One that bullets all the major talking points you need to communicate in order. This will give you something to reference back to while recording and keep the video focused.
When you have your outline or script, look it over. Does it align with the purpose of your video? If so, get out your gear - you're ready to start recording.
With pre-production out of the way, it’s time to decide what video tools you need for the job. In the modern age of technology, there might be what seems like an unlimited combination of filmmaking gear you can use.
But at the end of the day, invest in the gear that’s right for your company’s budget. If your content fulfills its purpose, it won’t matter if you use a phone camera or the best camera on the market. Your training video will be just as effective.
For the sake of simplicity, I’ve gathered three equipment lists for every budget, starting with a list of completely free tools.
If you are reading this, odds are it’s on a device with a camera. Meaning, you don’t need to spend money to get another version of something you already own. By using your laptop webcam or smartphone camera, you can start creating effective training videos immediately!
One of my favorite tools to get the most of these cameras is Loom, which allows you to record your screen, face, and sound (or any combo of) in one frame. And their freemium plan securely houses up to 25 videos (AKA 25 processes and policies) before you need to pick a paid plan.
The best part: You can record your training videos straight from your Trainual editor - using the Trainual + Loom integration. And the training content will automatically embed straight into your team’s training content. That way, you only have to explain a concept once, and you’re done.
👉 Want to see just how easy this is? Try the Trainual + Loom integration for free.
By now, you might be thinking that you’ve tried recording on these tools, and it just doesn’t seem to look great. But it’s all in the setup! So, here’s the best resource I know for instantly making your video look better:
TL;DW
Say you want to step up your video game without breaking the bank. By upgrading your audio and lighting equipment, you can instantly improve your video quality! And the upgrade costs a fraction of the price of a new camera.
That's because bad audio is one of the most distracting things - especially if the person listening to it is trying to learn. Don't believe me? See for yourself:
If you're using your computer webcam, I'd start by upgrading to a desktop condenser mic. These will pick up your voice a lot better and cut out most of the background noise. Or, if you're recording on an iPhone, upgrade to a shotgun mic for the same results.
🔥 Tip: Try to record in a quiet space without any echo, such as a small carpeted room with furniture. Bring your microphone as close as you can to your face. That way, your mic can work its magic and better pick up your voice.
Similarly, it won't matter how great or expensive your camera is if the lighting is bad. A thousand-dollar lens still produces low-quality footage in a dark room. Luckily, you can usually get around this for free with natural light.
But, if you're looking to record any time of day or your business operates in a dark space (like a garage or a classroom), you'll want to invest in an artificial light source.
I tend to prefer a key light to a giant softbox in these scenarios because it's more compact and still gives plenty of pleasing soft light. But whichever you choose, you'll want to get a mounting solution to put the light where you want it. A desktop mount or floor light stand will do the trick!
Here at Trainual, we use everything on the free essentials and the basics list to shoot biodegradable content. But we also invested pretty big in gear that makes recording top-notch evergreen content and our ads a lot easier.
With that said, having expensive gear doesn't necessarily make your content better if you don't know how to use it. And in a lot of cases, it's best to stick with what you know.
But, if you're serious about investing and learning how to use your investment, I'm here to share what I use to make all Trainual’s bigger scope video projects.
As far as a camera, I love the Canon EOS R because of its accurate autofocus and outstanding colors. And I use a Cannon 15-35mm lens for most of my day-to-day shooting.
I keep the camera steady with iFootage tripod legs and the matching tripod head. (This combo allows you to get smooth pans and tilts - if you're in the business of looking like Speilberg.)
But like I said before, a great camera won't help if your sound and lighting suck. So, for most shots, I'll set up a Sennheiser Wireless Lav Mic to capture all the sound (without any background noise) even if the person talking isn't right next to it. And a Godox Continuous Video Light (which gives off as much light as significantly more expensive setups).
If the light is too much, I'll also use a Fotodiox Softbox to soften it and let my subject's natural beauty shine!
🔥 Tip: Put your lighting setup on a solid C-Stand, and you're good to go! Just be sure to put a sandbag on your light stand to prevent it from tipping over.
Not everything is going to need post-production editing. For example, if your video is just someone on your team talking or a quick Loom recording, feel free to add it to your playbook as is.
But if you've spent good money on good gear, or the content's going to stick around for the long haul, you really ought to invest in some solid video editing software too. And that includes learning how to use it.
The ones I use are Adobe Premiere Pro and Final Cut Pro. They help me push out tons of quality content without spending weeks finessing the details. Plus, there are tons of free video tutorials for both Adobe and Final Cut that teach you how to use them - even if you're just getting started.
But if you don't expect to be a production factory, save a few bucks with free software, like Davinci Resolve or Hitfilm Express! Or use the pre-installed editor (like Quicktime). Even though these tools are free, it doesn't mean they won't get you a final product you'll be proud of (they will).
At the end of the day, video training content is meant to train people. So, don't get lost in making it a cinematic experience. Especially if you haven't mastered the training part yet.
For example, don't worry about someone stumbling over words or saying "um" as long as the message gets across. Keeping these moments in the final take can make your training videos more human and consequently more engaging!
Sure, a camera is only as good as its videographer. Kind of like business is only as good as its people. So, if you're going to invest good money in gear, invest equally (if not more) in learning how to use the gear.
But I'm going to be real with you. My best advice for growing businesses is to focus on the training part of the training videos - rather than the tools you use to create them. In the long run, this will get your team and your business a lot farther!
July 8, 2021
•

As one of the most powerful modes of communication, video is taking employee training by storm. And it's really not surprising. Per Forrester, people are 75% more likely to watch training videos than read training content.
However, there's a huge misunderstanding that it takes thousands of dollars and a Hollywood production agency to create effective employee training videos. It doesn't.
With these simple tips and tricks, you can create hyper-engaging content without spending a dime! Plus, I'll even share what video gear I use here at Trainual - in case you're ready to upgrade.
🔥 Tip: Keeping all of your training videos organized is just as important as making them engaging. And with Trainual, you can keep them all in one place so your team can easily access them whenever they need to. Try for free.
Before you even think about hitting "record," you need to plan out why you're recording the video. And how you'll get that idea across. Without it, your video won't have a clear point. And it'll leave your team more confused than before.
So, start with the proper planning (even if you do all the work in your head). This will make the process much more straightforward. Kind of like building your playbook before the big game.
To do this, answer three simple questions:
By answering these questions, you start to paint a clear picture of why this video needs to exist. And the more specific your answers, the better. That way, you can stay focused on your audience, your platform, and the video's purpose.
Plus, it's an easy way to cut any details that aren't 100% necessary and keep rambling to a minimum. After all, no one wants to watch a 23-minute video on something that can easily be explained in three.
With your why in mind, it's time to prepare. And that starts with deciding if you're running with a detailed script, a high-level outline, or you're going to speak off the cuff. It really just depends on how comfortable you are on the given topic and the type of video you're trying to make.
Generally speaking, there are two types of training videos: evergreen and biodegradable.
When you know how long your video's material will stay relevant, you can decide on your preparation method. You'll generally want to put more effort into evergreen content since it'll stick around longer.
Meaning, you might want to write out a comprehensive script for this content (and break out your full camera gear set up). Just make sure you don't overthink it.
Instead, write the script how you would normally talk about the topic. And don't worry about perfecting every piece of punctuation. This way, you won't feel bad going slightly off script when it feels right to do so. And you won't sound robotic and look unnatural in the end result.
For biodegradable content, on the other hand, you can get away with a little less preparation because it'll be updated and replaced soon enough. In these situations, I still recommend creating at least an outline. One that bullets all the major talking points you need to communicate in order. This will give you something to reference back to while recording and keep the video focused.
When you have your outline or script, look it over. Does it align with the purpose of your video? If so, get out your gear - you're ready to start recording.
With pre-production out of the way, it’s time to decide what video tools you need for the job. In the modern age of technology, there might be what seems like an unlimited combination of filmmaking gear you can use.
But at the end of the day, invest in the gear that’s right for your company’s budget. If your content fulfills its purpose, it won’t matter if you use a phone camera or the best camera on the market. Your training video will be just as effective.
For the sake of simplicity, I’ve gathered three equipment lists for every budget, starting with a list of completely free tools.
If you are reading this, odds are it’s on a device with a camera. Meaning, you don’t need to spend money to get another version of something you already own. By using your laptop webcam or smartphone camera, you can start creating effective training videos immediately!
One of my favorite tools to get the most of these cameras is Loom, which allows you to record your screen, face, and sound (or any combo of) in one frame. And their freemium plan securely houses up to 25 videos (AKA 25 processes and policies) before you need to pick a paid plan.
The best part: You can record your training videos straight from your Trainual editor - using the Trainual + Loom integration. And the training content will automatically embed straight into your team’s training content. That way, you only have to explain a concept once, and you’re done.
👉 Want to see just how easy this is? Try the Trainual + Loom integration for free.
By now, you might be thinking that you’ve tried recording on these tools, and it just doesn’t seem to look great. But it’s all in the setup! So, here’s the best resource I know for instantly making your video look better:
TL;DW
Say you want to step up your video game without breaking the bank. By upgrading your audio and lighting equipment, you can instantly improve your video quality! And the upgrade costs a fraction of the price of a new camera.
That's because bad audio is one of the most distracting things - especially if the person listening to it is trying to learn. Don't believe me? See for yourself:
If you're using your computer webcam, I'd start by upgrading to a desktop condenser mic. These will pick up your voice a lot better and cut out most of the background noise. Or, if you're recording on an iPhone, upgrade to a shotgun mic for the same results.
🔥 Tip: Try to record in a quiet space without any echo, such as a small carpeted room with furniture. Bring your microphone as close as you can to your face. That way, your mic can work its magic and better pick up your voice.
Similarly, it won't matter how great or expensive your camera is if the lighting is bad. A thousand-dollar lens still produces low-quality footage in a dark room. Luckily, you can usually get around this for free with natural light.
But, if you're looking to record any time of day or your business operates in a dark space (like a garage or a classroom), you'll want to invest in an artificial light source.
I tend to prefer a key light to a giant softbox in these scenarios because it's more compact and still gives plenty of pleasing soft light. But whichever you choose, you'll want to get a mounting solution to put the light where you want it. A desktop mount or floor light stand will do the trick!
Here at Trainual, we use everything on the free essentials and the basics list to shoot biodegradable content. But we also invested pretty big in gear that makes recording top-notch evergreen content and our ads a lot easier.
With that said, having expensive gear doesn't necessarily make your content better if you don't know how to use it. And in a lot of cases, it's best to stick with what you know.
But, if you're serious about investing and learning how to use your investment, I'm here to share what I use to make all Trainual’s bigger scope video projects.
As far as a camera, I love the Canon EOS R because of its accurate autofocus and outstanding colors. And I use a Cannon 15-35mm lens for most of my day-to-day shooting.
I keep the camera steady with iFootage tripod legs and the matching tripod head. (This combo allows you to get smooth pans and tilts - if you're in the business of looking like Speilberg.)
But like I said before, a great camera won't help if your sound and lighting suck. So, for most shots, I'll set up a Sennheiser Wireless Lav Mic to capture all the sound (without any background noise) even if the person talking isn't right next to it. And a Godox Continuous Video Light (which gives off as much light as significantly more expensive setups).
If the light is too much, I'll also use a Fotodiox Softbox to soften it and let my subject's natural beauty shine!
🔥 Tip: Put your lighting setup on a solid C-Stand, and you're good to go! Just be sure to put a sandbag on your light stand to prevent it from tipping over.
Not everything is going to need post-production editing. For example, if your video is just someone on your team talking or a quick Loom recording, feel free to add it to your playbook as is.
But if you've spent good money on good gear, or the content's going to stick around for the long haul, you really ought to invest in some solid video editing software too. And that includes learning how to use it.
The ones I use are Adobe Premiere Pro and Final Cut Pro. They help me push out tons of quality content without spending weeks finessing the details. Plus, there are tons of free video tutorials for both Adobe and Final Cut that teach you how to use them - even if you're just getting started.
But if you don't expect to be a production factory, save a few bucks with free software, like Davinci Resolve or Hitfilm Express! Or use the pre-installed editor (like Quicktime). Even though these tools are free, it doesn't mean they won't get you a final product you'll be proud of (they will).
At the end of the day, video training content is meant to train people. So, don't get lost in making it a cinematic experience. Especially if you haven't mastered the training part yet.
For example, don't worry about someone stumbling over words or saying "um" as long as the message gets across. Keeping these moments in the final take can make your training videos more human and consequently more engaging!
Sure, a camera is only as good as its videographer. Kind of like business is only as good as its people. So, if you're going to invest good money in gear, invest equally (if not more) in learning how to use the gear.
But I'm going to be real with you. My best advice for growing businesses is to focus on the training part of the training videos - rather than the tools you use to create them. In the long run, this will get your team and your business a lot farther!

Organize Chaos, published daily and hosted by Chris Ronzio, covers the playbooks, the people-powered strategies, and productivity hacks SMB leaders need to take their team to the next level.
.svg)