
Navigating the complex world of team scheduling, especially when dealing with varying shifts in sectors like hospitality or healthcare, can be a logistical challenge (to say the least). It’s a tedious task that demands time, precision, and technological solutions. For businesses already using Microsoft Office, Excel can provide a practical and cost-effective way to create schedules for your team. To help you make the most of the software, we’re walking you through the step-by-step process of creating a team schedule in Excel. You’ll also find a free Excel template ready for you to try out.
For teams with more complex scheduling needs that extend beyond what Excel has to offer, we’ll also explore an alternative scheduling solution specifically designed to handle the dynamic needs of your team. Ready to take the “ugh” out of sched”ugh”ling? Let’s get started.
How to create a schedule in Excel
While Excel may be specifically designed for data entry and financial analysis, its capabilities extend far beyond that. The versatile platform can also be used to design custom schedules tailored to the specific needs of your business. Not familiar with the platform? That’s not a problem. With these step-by-step instructions, you’ll be whipping up your team schedule in no time.
Step 1: Launch Excel
Launch Microsoft Excel on your computer. If you don’t have Excel installed, you can use the online version or any other spreadsheet software that you prefer
- Select a blank workbook.
- Click create.
Step 2: Insert header
- Click on the top row of your spreadsheet to select it.
- Then, right-click and choose “Insert” to create a new row at the top.
- In this newly inserted row, add your header information.
- Include details such as your business name (or location), department, and the time period covered by the schedule.
- For example: Restaurant A (Weekly schedule for January 1-8)
Step 3: Title your columns and rows
- Label the columns with the days of the week.
- The rows should represent specific time slots. This can be done in hourly increments or more simply divided into morning, afternoon, and evening shifts. Select the option that best suits your scheduling needs.
- To insert hourly increments, start from the top with labels like “8:00 AM,” “9:00 AM,” and so on. This creates a grid where each cell represents a specific time slot for a particular employee.
- Note: If your scheduling needs are more basic, morning, afternoon, and evening shifts will suffice, but be sure to include specific start times to eliminate any confusion.
Step 4: Input employee names
Once you’ve accurately labeled the columns and rows, it’s time to fill out the schedule.
- Let’s say you’ve scheduled Employee A on Monday with a start time of 8 am. At the intersection of Monday and 8 am, insert the employee’s name.
- You can use different colors or formatting options to make the schedule visually appealing and easy to understand. For instance, small teams may want to assign each employee a specific color, while larger teams may want to assign certain colors for specific shifts.
- Note: Excel provides various formatting options to enhance the clarity of your schedule, so feel free to experiment with cell formatting, borders, and colors to distinguish between days, shifts, or different types of tasks. These visual customizations make it easier for your team to interpret the schedule at a glance.
Step 5: Save your work
It’s best practice to save as you go along to prevent your hard work from vanishing before your eyes. But it’s most important to save your file once you’ve completed your work schedule.
- Include the relevant dates in the file name to make it easy to find. Ex: Weekly_Schedule_January1-8.
- Pro tip: If you use the same scheduling cadence every week, save your file as a template before you populate it with employee names. This allows you to skip the first three steps, saving you precious time each week.
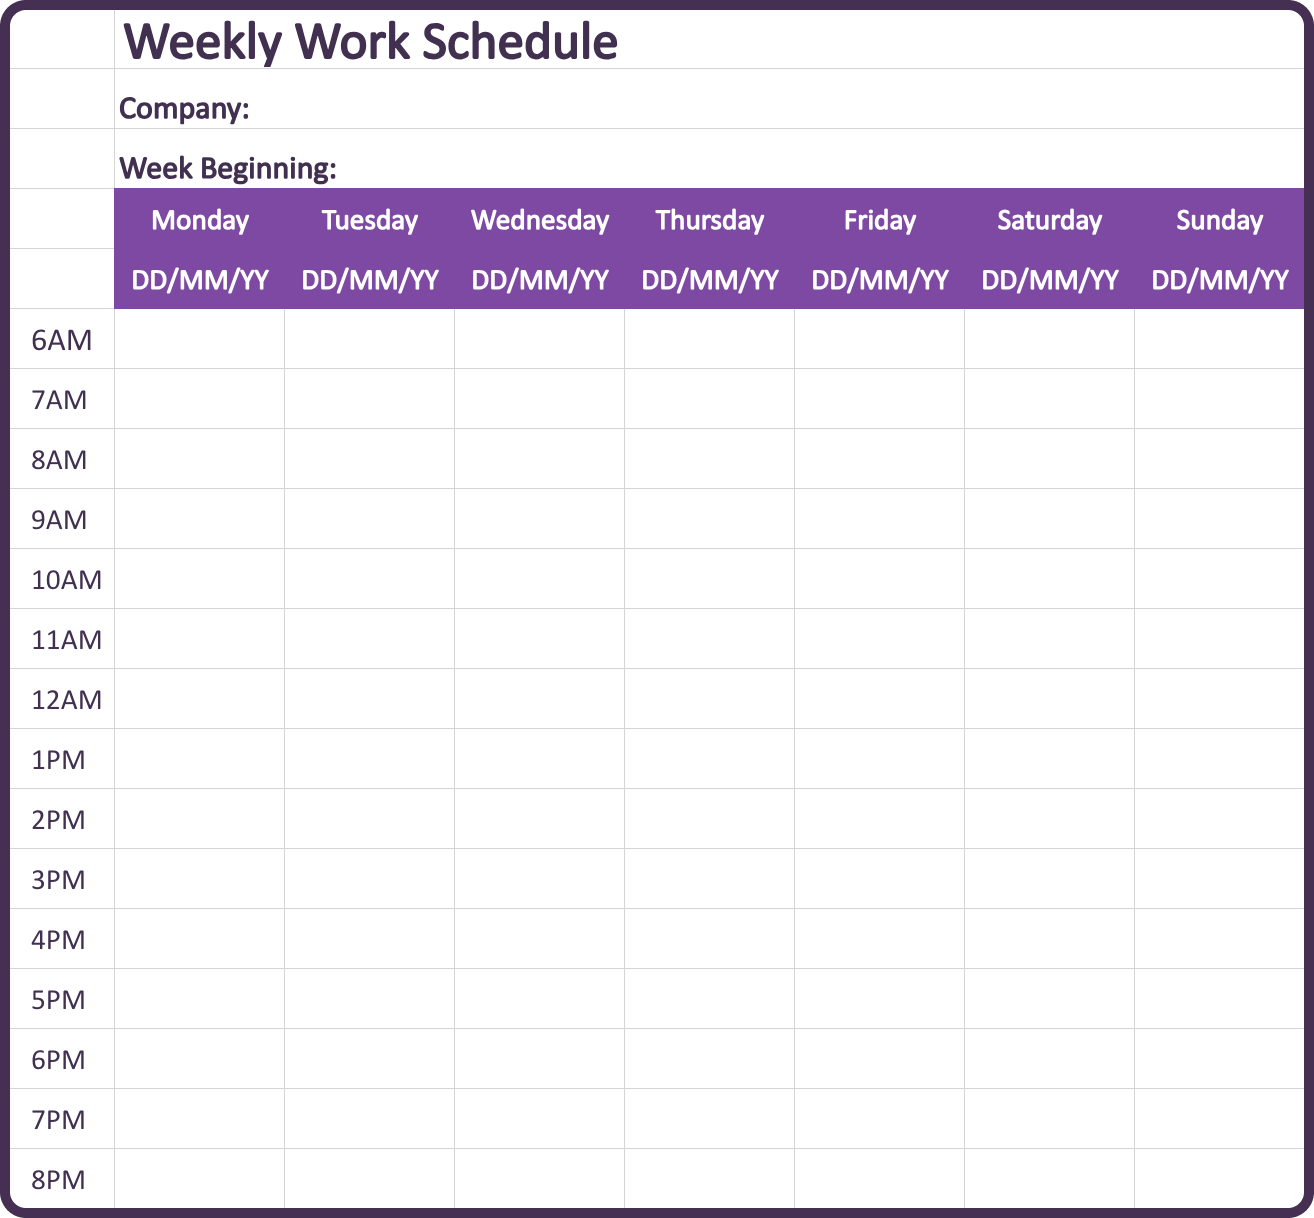
- Worried you don’t have the skills to create your own? Download our Excel schedule template for a head start.
Step 7: Share and distribute
Depending on your team’s preferences, you can share the Excel schedule by emailing the file, using cloud storage services, or printing physical copies.
Provide a few ways to obtain a copy of the schedule to ensure it’s accessible for all members of your team.
By following these detailed steps, you can easily make a work schedule in Excel that suits the unique needs of your team.
Benefits of using Excel to make your work schedules
Beyond complicated formulas, Excel offers built-in templates and scalable features that simplify team scheduling. Don’t let the plain interface deter you; it just might be the low-cost scheduling solution you’ve been looking for.
Saves time
Excel’s built-in functions and templates streamline the scheduling process, making it a highly efficient scheduling tool. By leveraging formulas for hourly calculations, copy-and-paste options, and utilizing templates for recurring schedules, managers can quickly create a schedule for their team.
Flexible features
Whether you need to adjust shifts, add or remove employees, or modify schedules on the fly due to changing circumstances, Excel is highly adaptable, making it suitable for all types of scheduling needs.
Accurate calculations
One of the key advantages of using Excel is its ability to minimize errors in scheduling. With integrated formulas and functions, you can automatically calculate the total hours worked and avoid accidentally overscheduling team members due to miscalculations. This level of accuracy is crucial for managing labor costs and ensuring compliance with local labor regulations.
Identify scheduling patterns with data analysis
Beyond basic scheduling capabilities, Excel allows you to track and analyze scheduling data over time. By organizing schedules in Excel, you can identify patterns, monitor employee performance, and make data-driven decisions to improve your workforce management.
Easily shareable
Excel also simplifies communication by providing easy sharing options for schedules. Whether through email or cloud storage, your team can access schedules from anywhere, fostering clear communication and reducing scheduling conflicts.
Scalability
Whether you’re managing a small team or a large workforce, Excel can be adapted to fit your scheduling process and meet the evolving needs of your business. So, if your business is affected by seasonal fluctuations, you can scale the process up or down as you go.
Visual clarity
While Excel may be better known for its formulas and calculations, it doesn’t do so at the expense of aesthetics. Customizable formatting, color coding, highlighting, and font adjustments allow you to enhance the readability of schedules, contributing to clearer communication and understanding.
Accessibility
Excel also offers convenience and accessibility. While managers are able to create team schedules on their desktop computers, their employees are free to access the schedules on their multiple devices. This flexibility ensures that both managers and employees can effortlessly view and update schedules on the go and provides options for members of your team who may not be able to use certain devices.
Cost-effective
Given its widespread availability, Excel eliminates the need for specialized scheduling software — making it a readily accessible and cost-effective tool for small businesses.
The downside of creating your work schedule in Excel
Despite its many advantages, Excel has several downsides that are worth considering before making it your go-to scheduling solution.
Limited automation
Excel schedules often require manual data entry and calculations. This can be particularly time-consuming for those with limited Excel experience and may result in human errors when managing large or complex schedules.
Version control
While sharing Excel schedules is a fairly straightforward process, it can be challenging to maintain control over edits. Since Excel schedules don’t typically offer real-time updates, making last-minute changes can result in scheduling conflicts and confusion.
Time-consuming updates
Modifying schedules to accommodate changes in staffing or time-off requests can be tedious, especially when using large, established Excel schedules.
Limited reporting features
While Excel allows basic data analysis, it may not offer the advanced reporting features available in dedicated scheduling software. This can limit your insights into schedule-related data and prevent you from optimizing your resources.
Security concerns
Storing sensitive employee information in Excel files can pose security risks, especially if not adequately protected and shared. Additional security measures should be taken to ensure the confidentiality of employee data.
Steep learning curve
Effective use of Excel for scheduling requires some practice. First-time users may find that there’s a steep and frustrating learning curve, particularly when dealing with formulas and calculations. This can lead to wasted time, errors, and scheduling confusion.
Compatibility issues
Problems with compatibility can arise when sharing Excel schedules with different software versions or with users who don’t have Excel installed. This makes it difficult to collaborate on the scheduling process and ensure your team is working off of the most up-to-date schedule.
Is there a better way to create work schedules for your employees?
While using Excel for scheduling may seem easy and convenient, it wasn’t originally designed for that purpose. As a result, it lacks the flexibility and real-time updates necessary to manage a dynamic team schedule. Homebase, on the other hand, was purpose-built to streamline employee scheduling, time clock management, and payroll integration, making it a more agile and efficient solution.
The following user-friendly features make it easier to manage and schedule your team with Homebase.
Streamlined employee scheduling
Homebase offers intuitive drag-and-drop scheduling tools that simplify the process of creating and managing schedules. You can quickly build, customize, and share schedules, and notify your team of any changes (in real time).
Time clock management
Unlike Excel, Homebase includes a built-in time clock (and GPS-enabled time tracking) that allows your employees to clock in and out from their mobile devices. This reduces the risk of time theft and ensures accurate time tracking and payroll.
Payroll integration
While you may be able to whip up a nifty formula to calculate total hours worked in Excel, you’ll still have to manually input those hours into your payroll system, which is time-consuming and error-prone. Homebase seamlessly integrates with popular payroll providers like ADP, Gusto, and QuickBooks, saving you time, minimizing errors in wage calculations, and automating an otherwise tedious process.
Real-time updates
Homebase eliminates the need to continuously distribute updated versions of your team’s schedule. With the ability to update your schedule and send notifications on the fly, you can rest assured that your team will be notified of any changes, even last-minute ones. Speaking of last-minute changes, your team can easily pick up or trade shifts directly in the app, eliminating those awkward yet frantic last-minute calls for coverage.
Employee communication
While communicating across shifts can be challenging, Homebase’s built-in messenger tool makes it easy to stay connected. Instantly send messages, notifications, and updates directly through the app. This makes it easier for your team to stay organized and on the same page.
Say goodbye to the limitations of Excel spreadsheets and embrace the power of Homebase for your small business. Discover the benefits of Homebase for yourself and revolutionize your workforce management.
Build, optimize, and share your team schedules in one easy-to-use app. Try Homebase for free.
How to make a schedule on Excel FAQs
What are the steps to make a work schedule in Excel?
Here are the five steps to make a work schedule in Excel:
Step 1: Open a blank Excel spreadsheet
- Launch Excel on your computer
- Start with a new, blank spreadsheet
Step 2: Insert header
- Identify the purpose of your schedule
- Insert a header at the top of your spreadsheet to clearly define the content
Step 3: Title columns and rows
- Specify the details for each day by labeling columns with days of the week
- List rows with specific start times to create a timeline
Step 4: Input employee names
- Place employee names in their respective scheduling slots
Step 5: Save
- Save your Excel file in a location and file name that makes it easy to retrieve when needed
- Optional: Save as a template for future schedules
Can you create your own schedule template in Excel?
Yes, you can create and save your own schedule template in Excel by selecting the ‘save as template’ option. This is a valuable time-saving option for small businesses that operate with the same schedule week after week. Just remember to save the new schedule under a different name before filling it out, to avoid unintentionally altering the template.
Is Excel the best place to make work schedules?
While Excel is a versatile tool for creating work schedules, its suitability depends on your specific needs. It may not be the best choice for businesses with complex or frequently changing schedules. Dedicated scheduling software like Homebase may offer more advanced features for efficient workforce management. Consider your business requirements and available tools to determine the best solution for your scheduling needs.
Remember: This is not legal advice. If you have questions about your particular situation, please consult a lawyer, CPA, or other appropriate professional advisor or agency.